This past weekend, I got inspired to ACTUALLY build them myself!
Rule #1 - always plan out your build. Despite having done two rather complex builds this year already, I still managed to mess things up somewhere between the planning and building stages. This time, it was that I designed from the outside in, instead of the inside out.
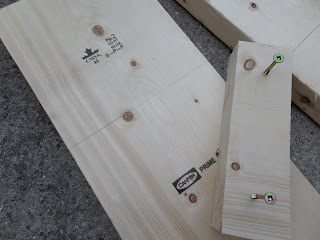
What do I suggest? For a planter, choose the inside dimension you want, and then buy the wood accordingly. I made the mistake of buying 2 x 8" boards (finished 1.5 x 7") which meant that the inside planter area would have been all of 5". Oops. Back to Home Depot for Me so I could create rectangular planters instead as I didn't want to waste the wood I had already bought (and cut, doh!).
Supply list for 2 planters (around $50 using SPF wood)
wide sides - (1 of) 2 x 12 x 8 -> I cut this at 26", 26", 20" and 20" - with just a smidge leftover
narrow sides - (1) 2 x 8 x 8 -> same cuts for this one
top/bottom cap - (2) 1 x 3 x 8 -> cut to measure for the top
top trim - (1) of your choice x 8' -> cut to measure
bottom trim - (1) of your choice x 8' -> cut to measure
- 16 x 2.5" deck screws
- 64 x 1.5" galvanized nails
- drill, drill bits, saw, safety glasses, ear protection, etc...
 |
| Cut two pieces of each width of your wood to make the four main pieces that'll form each planter. |
 |
| Fix a couple of extra pieces of leftover scraps at 8" from the top to act as supports for the interior shelf. |
 |
| Use screws in pre-drilled holes (to avoid splitting the wood) - put one at each corner of the wide boards |
 |
| Screw the narrow boards w/ the shelf supports on the inside of the two wide boards to make a box |
 |
| Put on a cap (and a base) of the 1 x 3" pieces of wood. This isn't for structure, but for looks - make it pretty! |
 |
| Add your trim pieces putting the wider trim at the top and the more narrow trim on the bottom. |
A quick lesson in staining exterior furniture? I don't have one. I bought a semi-transparent stain that was the darkest brown I could find. This meant that it was medium brown (boo) and showed every brush stroke (double boo). I ended up putting two coats on to get rid of the brush stroke look, and it came out mostly-not-transparent. So annoying.
I guess the lesson would be... don't be so anxious to get it done that you aren't willing to use a very thin exterior stain, applying a coat a day (x 3). This would have built the darkness I wanted slowly, and likely better. Oh well - next time. I was just too excited to get them done!
 |
| Voila! Now, do it a second time with the other wood pieces you cut. |
 |
| Paint/stain them.... Put in some flowers.... |
 |
| Put them out to enjoy! |

No comments:
Post a Comment